
Sidebar
Table of Contents
Project Explorer
The  Project Explorer panel is opened through the main upper toolbar under 'Tools > Panels'.
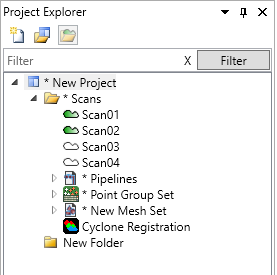
Project Explorer is where a user will create projects, add files, and organize data related to the scan project.
see also Supported File Formats
How to Add and View Scans
1. Begin by selecting a folder in the Project Explorer tab. Most often this is the 'Scans' folder, but it can also be any other folder a user has created.
2. Click the 'Open Scans' icon  and navigate to the location of your scans. Select the scans you wish to add and click the 'Open' button at the bottom.
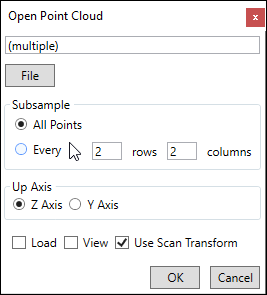
3. The 'Open Point Cloud' dialog will appear.
Accept the default Subsample or choose a custom Subsample using every X rows by X columns and click the 'OK' button.
4. To begin viewing, drag and drop individual scans into the 'Scene' window or drag and drop the entire Scans folder.
Naming and Saving a Project
1. Right click on 'New Project' and select the 'Save As' option. Navigate to the location you wish to save. Type a name for your project at the bottom where it reads 'File Name' and click the 'Save' button.
Alternate method 1:
1. Right click on 'New Project'. Select the 'Rename' option at the top and type a name for your project.
2. Right click your project name and select the 'Save As' option or press Ctrl+S on the keyboard.
3. Type a name for your project at the bottom where it reads 'File Name' and click the 'Save' button.
Alternate method 2:
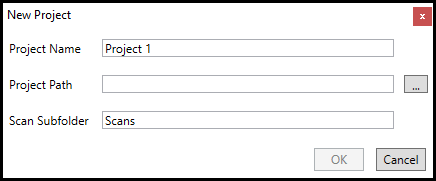
1. Click the 'New Project' icon  .
.
2. Populate the three project fields (Name, Path, and Scan folder) and click the 'OK' button.
3. Right click your project name and select the 'Save As' option or press Ctrl+S on the keyboard.